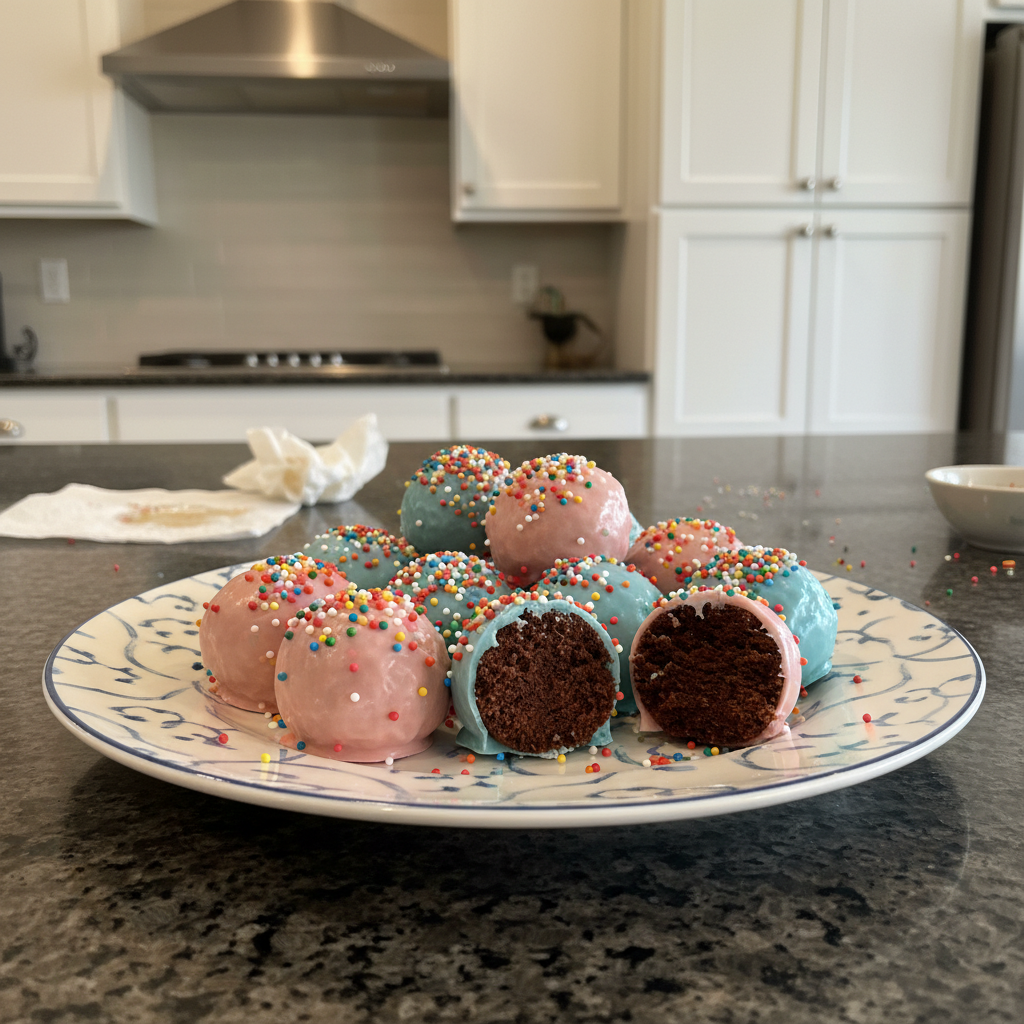
There's a special kind of delight that comes from a bite-sized dessert, and few treats capture that joy quite like perfectly moist cake balls. Imagine a rich, tender crumb, fused with creamy frosting, all enrobed in a smooth, decadent candy shell. It’s a confectionery dream that looks sophisticated but is surprisingly simple to achieve. If you've been on the hunt for an exceptional easy cake balls recipe with a secret twist that consistently delivers an elevated taste experience, your search ends here. We're about to unlock the secrets to crafting irresistible cake balls that will impress without requiring a culinary degree.
The Magic Behind Perfectly Moist Cake Balls
What transforms a good cake ball into an unforgettable one? It's often the subtle nuances and expert touches that elevate a simple treat into a gourmet experience. This particular cake balls recipe focuses on achieving that coveted moistness and a depth of flavor that sets it apart. While many recipes use a basic cake and frosting combination, we're introducing two powerful, yet simple, additions that will make your cake balls truly shine.
- Elevated Flavor Profile: The real game-changer here is the strategic incorporation of a complementary extract directly into your cake-frosting mixture. We're not just adding a hint; we're building an aromatic foundation that makes each bite more complex, satisfying, and utterly delicious. Imagine the warm, nutty notes of almond, the refreshing burst of peppermint, or the bright zest of orange infusing every morsel. This small tweak instantly signals homemade quality, even if you’re starting with a box mix.
- Balanced Sweetness: Achieving the perfect balance of sweetness is crucial. While the reference context was cut off on this point, the precise measurement of frosting (1 cup + 2 tablespoons) is key. This specific ratio ensures your cake balls are moist and bind beautifully without becoming cloyingly sweet. It allows the subtle flavors of the cake and your chosen extract to truly sing, preventing any single element from overpowering another. This thoughtful approach ensures a harmonious taste that leaves you wanting another.
These seemingly minor adjustments are what allow a standard box mix to taste like a custom-made confection. The result is consistently moist, incredibly rich, and beautifully smooth cake balls that are wonderfully quick to make. Whether you're a busy home cook or looking for a fun project with the kids, this recipe is perfect for any occasion, offering endless customization possibilities.
Gathering Your Ingredients for Success
The foundation of any great cake balls recipe lies in its ingredients. For maximum convenience without sacrificing flavor, we lean into readily available components, carefully chosen for their quality and performance. Here’s what you’ll need to create these decadent dessert bites:
Essential Ingredients:
- Cake Base:
- 1 box cake mix (your preferred flavor)
- Eggs, oil, and water (as directed on the cake mix box)
- Binding & Moisture:
- 1 cup + 2 tablespoons canned frosting (your preferred flavor)
- Coating & Decoration:
- 1 pound candy melts (Ghirardelli Melting Wafers are highly recommended)
- 1/2 cup sprinkles (or other decorative elements)
- The Unique Twist:
- 1/2 teaspoon complementary extract (e.g., almond, peppermint, orange)
Ingredient Notes & Expert Tips:
- Cake Mix: While any box cake mix will work, brands renowned for their superior moisture and fine crumb truly elevate the final product. Experiment with classics like Yellow, Chocolate, or Vanilla, or explore more adventurous options such as Strawberry, Red Velvet, Funfetti, Spice, or Lemon. Each choice offers a different canvas for flavor. If you prefer, homemade cake and frosting can certainly be used, but this recipe is specifically designed to provide gourmet results with convenient store-bought ingredients.
- Frosting: Canned frosting isn't just for convenience; it's vital for binding the cake crumbs and infusing that essential moisture. Its texture is ideal for creating the perfect consistency for rolling. For a truly decadent pairing, try rich cream cheese frosting with a Red Velvet or Spice cake base – the tanginess beautifully offsets the sweetness.
- Candy Melts: Our top recommendation for coating is Ghirardelli Melting Wafers. Their consistent melt, incredibly smooth consistency, and fantastic taste make them superior for dipping. If you opt for another brand and find your candy melts too thick for a smooth coat, incorporate 1-2 teaspoons of shortening (like Crisco) into the melted coating. This simple trick thins the mixture, making it much easier to achieve that beautiful, even shell.
- The Flavor Elevators: This is where the magic happens! The complementary extract you choose should harmonize with your cake and frosting flavors.
- Almond Extract: Fantastic with yellow, vanilla, chocolate, or even red velvet cakes for a subtle marzipan-like note.
- Peppermint Extract: A festive choice, perfect with chocolate or red velvet, especially during the holidays.
- Orange Extract: Brightens up vanilla, lemon, or chocolate cakes, adding a lovely citrusy dimension.
- Other Ideas: Consider coconut extract with a white cake, or coffee extract for a mocha twist with chocolate cake.
Crafting Your Delicious Cake Balls: A Step-by-Step Guide
Making cake balls is a straightforward process, but paying attention to a few key details will ensure your treats are perfectly formed, beautifully coated, and exquisitely moist. Follow these steps for an enjoyable baking experience and outstanding results.
- Bake the Cake: Prepare your chosen box cake mix according to the package directions, using eggs, oil, and water as specified. Once baked, allow the cake to cool completely on a wire rack. This is crucial for proper crumbling and mixing.
- Crumble and Combine: Once cooled, transfer the cake to a large mixing bowl. Using your hands or a fork, crumble the cake until it's a fine, even consistency – resembling coarse sand. There should be no large chunks. Now, add your 1 cup + 2 tablespoons of canned frosting and the 1/2 teaspoon of your chosen complementary extract. Mix thoroughly until the mixture is uniform and comes together like a soft dough. It should be pliable enough to roll without crumbling, but not overly sticky.
- Roll into Balls: Take small portions of the cake mixture (about 1 tablespoon each) and roll them tightly between your palms to form smooth, uniform balls. Aim for consistency in size for even dipping.
- Chill for Firmness: Arrange the rolled cake balls on a parchment-lined baking sheet. Place them in the refrigerator for at least 30-60 minutes, or in the freezer for 15-20 minutes. Chilling is a vital step as it helps the balls firm up, preventing them from falling apart during dipping and allowing the coating to set quickly.
- Melt the Coating: While the cake balls are chilling, prepare your candy melts. Melt them according to package directions (typically in a microwave-safe bowl in 30-second intervals, stirring in between, or using a double boiler). If using other brands and the melt is too thick, stir in 1-2 teaspoons of shortening until smooth.
- Dip and Decorate: Remove the chilled cake balls from the refrigerator or freezer. Using a dipping tool, a fork, or a toothpick, carefully dip each cake ball into the melted candy coating, ensuring it's fully submerged. Gently tap off any excess coating. Before the coating sets, immediately adorn with sprinkles, drizzles, or other decorations.
- Set and Enjoy: Place the decorated cake balls back on the parchment-lined baking sheet to set completely. This can be done at room temperature or in the refrigerator to speed up the process. Once set, they are ready to serve!
Customization Galore: Unleash Your Creativity
One of the most delightful aspects of this cake balls recipe is its endless potential for customization. These aren't just dessert bites; they're edible canvases waiting for your creative touch. For even more inspiration on making these treats uniquely yours, check out our guide on Easy Customizable Cake Balls: No-Fuss Recipe for Any Occasion.
- Flavor Pairings: Beyond the extract, consider the interplay of cake and frosting. A lemon cake with vanilla frosting and a hint of orange extract, or a rich chocolate cake with coffee-flavored frosting and a dash of almond extract, can create incredible depth.
- Coating Variations: Don't limit yourself to one type of candy melt. Dark chocolate, white chocolate, milk chocolate, or a rainbow of colored candy melts can transform the look and taste. You can also drizzle contrasting colors for an elegant finish.
- Decoration Extravaganza: Sprinkles are just the beginning! Think about finely chopped nuts (pecans, walnuts, pistachios), shredded coconut, crushed cookies (Oreos, graham crackers), edible glitter, cocoa powder, or even mini chocolate chips. For a truly professional touch, pipe intricate designs with royal icing or contrasting melted chocolate.
- Seasonal & Themed Treats: Adapt your cake balls for any holiday or celebration. Red Velvet with white chocolate coating for Valentine's Day, green and red sprinkles for Christmas, pastel colors for Easter, or team colors for game day. The possibilities are truly boundless.
Troubleshooting & Storage Tips for Perfect Results
Even with the simplest recipes, a few common issues can arise. Here’s how to troubleshoot and ensure your cake balls remain perfect.
Common Troubleshooting:
- Cake Balls Falling Apart: This usually means the mixture isn't moist enough or wasn't mixed thoroughly. Add another tablespoon of frosting, mix well, and roll more firmly. Ensure proper chilling; warm balls are more fragile.
- Coating Too Thick/Lumpy: Reheat the candy melts gently, stirring constantly. If still too thick, add 1/2 to 1 teaspoon of shortening and stir until smooth. Overheating can also make candy melts seize or become lumpy.
- Messy Dipping/Uneven Coating: Ensure your cake balls are very cold. Work quickly. Use a deeper bowl for your melted coating so you can fully submerge the ball. Gently tap excess coating off the dipping tool against the edge of the bowl.
- Cracked Coating: This often happens if the cake ball is too cold when dipped into very warm coating, causing a temperature shock. Let your chilled balls sit at room temperature for 5-10 minutes before dipping, and ensure your candy melts aren't excessively hot.
Storage Tips:
- Room Temperature: Uncoated cake balls can be stored in an airtight container at room temperature for up to 2 days. Once coated, they can typically last 3-4 days at room temperature, though refrigeration is often preferred for freshness.
- Refrigerator: Store coated cake balls in an airtight container in the refrigerator for up to a week. They are best enjoyed at room temperature, so let them sit out for 15-20 minutes before serving.
- Freezer: For longer storage, freeze uncoated cake balls on a parchment-lined baking sheet until solid, then transfer them to a freezer-safe airtight container or bag. They can be frozen for up to 3 months. Thaw in the refrigerator overnight before coating and decorating. Coated cake balls can also be frozen, though the coating may "sweat" slightly upon thawing.
These perfectly moist cake balls are more than just a dessert; they're a testament to how simple ingredients, combined with a few thoughtful techniques, can create something truly extraordinary. With this cake balls recipe, you’re equipped to produce gourmet-quality treats that are as delightful to make as they are to eat. Whether for a party, a gift, or just a sweet indulgence, these elevated bites are sure to become a cherished addition to your recipe collection. Embrace the joy of baking and prepare to dazzle with every delicious, moist bite. For an even deeper dive into enhancing the flavors of your next batch, explore our guide on Unlock Gourmet Flavor: Easy Cake Balls Recipe with a Secret Twist.
